The Loft Conversion Process Step by Step: What Happens in Each of the 8 to 10 Weeks
A rear dormer loft conversion on a terraced house typically takes 8 to 10 weeks on site with us. The work follows the same order on almost every job: scaffolding, the steels and the new floor, then the dormer and the roof, followed by the insulation, the windows, first fix plumbing and electrics, the staircase, plastering, second fix and the final finishes. The family can normally carry on using the existing top floor for most of the build; the main disruption comes when the new staircase is opened up and the loft is connected to the house. Here is what happens at each stage, and what has to happen before week 1.
The loft conversion process at a glance
| Roughly when | What happens |
|---|---|
| Before week 1 | Survey, drawings, structural design, approvals and party wall notices |
| Weeks 1 to 2 | Scaffolding, the steel beams and the new floor |
| Weeks 2 to 4 | The dormer is built and the roof completed, so the loft is watertight |
| Weeks 4 to 5 | Insulation and windows |
| Weeks 5 to 6 | Stud walls and first fix plumbing and electrics |
| Weeks 6 to 7 | The staircase goes in and the loft is connected to the house |
| Weeks 7 to 8 | Plasterboard and plastering |
| Weeks 8 to 10 | Second fix, flooring, decorating and the final Building Control inspection |
This is a typical rear dormer on a terrace. A bigger dormer, an en suite or a hip-to-gable conversion makes some stages longer, and the weather matters while the roof is open.
Before week 1: design and approvals
The building work is the last part of the process. Before it starts:
- Survey and quote. We visit, check the head height, the roof structure, the floor level and the space for a staircase, and give you a free written quote.
- Drawings and structural design. We work with architects, architectural technicians and structural engineers and coordinate them, so you have one point of contact from the early design stages through to construction. The structural engineer designs the steels and the new floor.
- Permission. Most rear dormers outside a conservation area are permitted development. A Lawful Development Certificate proves it for when you sell; it costs £274 in England at the time of writing (October 2026), and the council has 8 weeks to decide it. A mansard, a front dormer or any dormer in a conservation area needs a householder planning application, which costs £548. Our guide to planning permission for a loft conversion explains the rules.
- Building Control. A loft conversion always needs approval under the Building Regulations, from the council’s Building Control or a registered building control approver, even when it is permitted development.
- Party wall notices. On a terrace or semi the steels usually sit in the shared walls, so notices must be served on the neighbours at least two months before that work starts. Many neighbours agree without a problem; where a surveyor is needed we normally recommend a qualified party wall surveyor.
The fees for the structural engineer, planning, Building Control and any party wall surveyor are separate from our price. Our loft conversion cost guide sets out what each type costs and what is not included.
Weeks 1 to 2: scaffolding, steels and the new floor
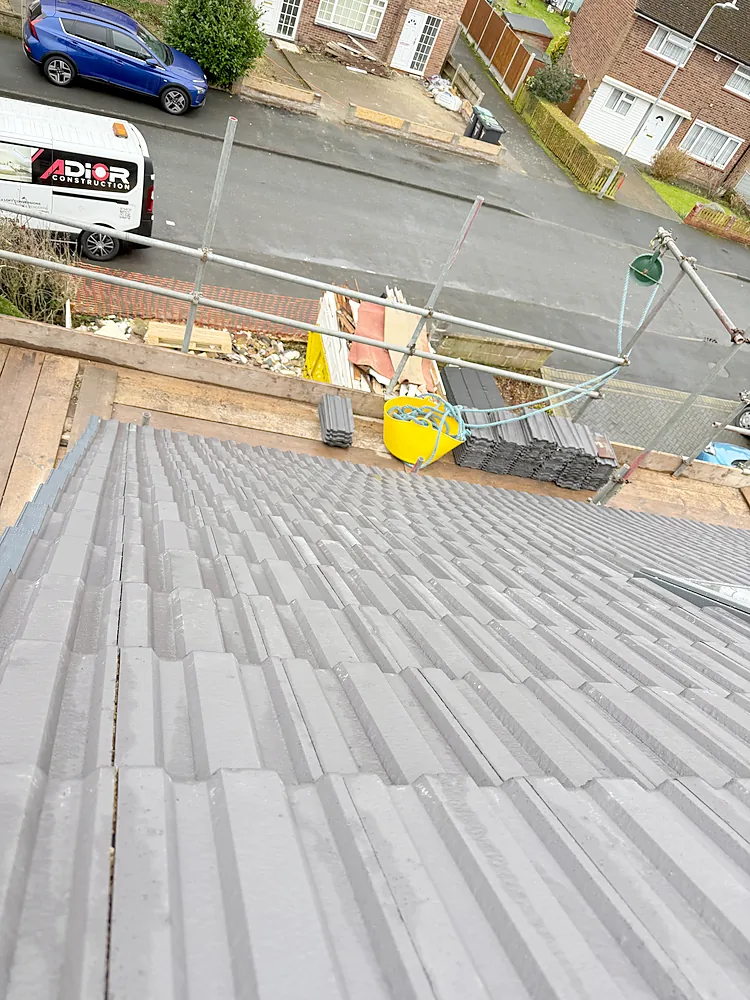
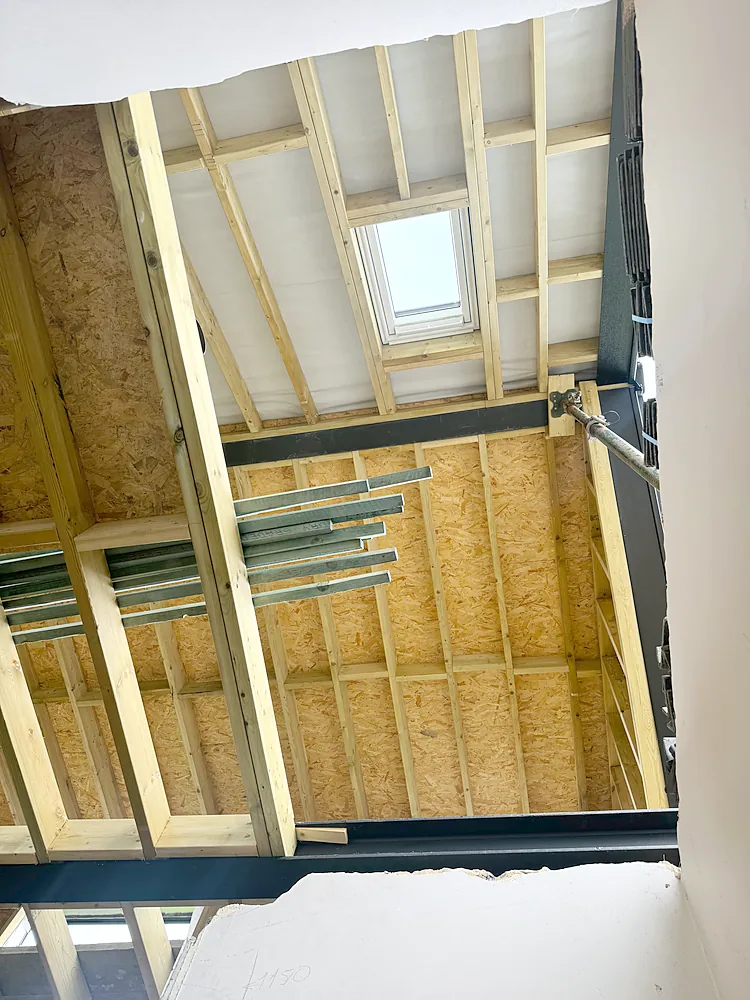
The scaffolding goes up first and the materials arrive. Then the structural work starts. The existing ceiling joists were only ever meant to hold up a ceiling, so they cannot carry a room. Steel beams, bearing on padstones in the walls as the structural engineer specifies, take the weight of the new floor and the dormer, and new, deeper floor joists go in alongside the old ones, kept clear of the ceiling below.
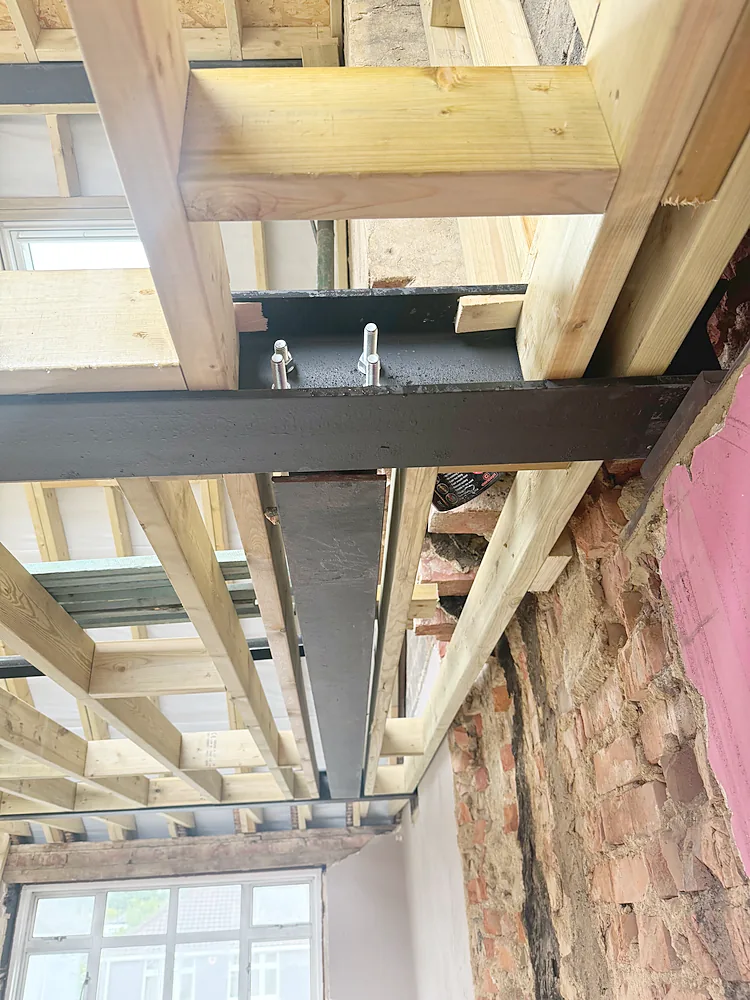
Building Control usually inspects the steels and the floor structure before they are covered up.
Weeks 2 to 4: the dormer and the roof
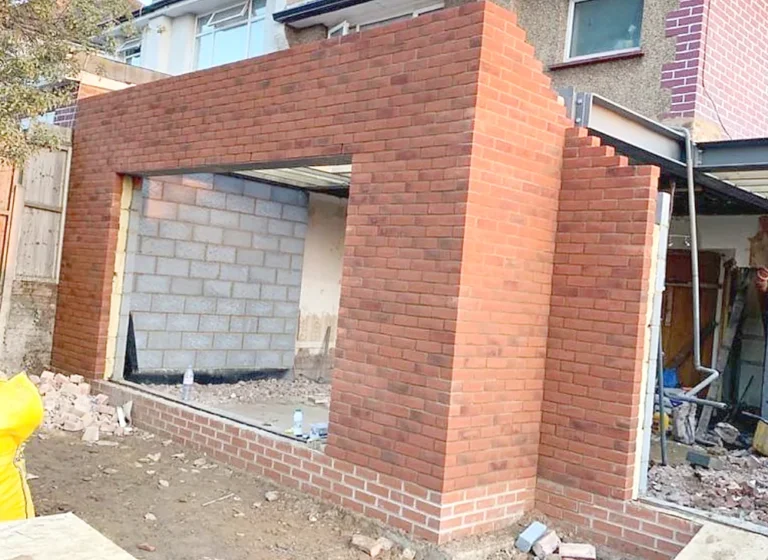
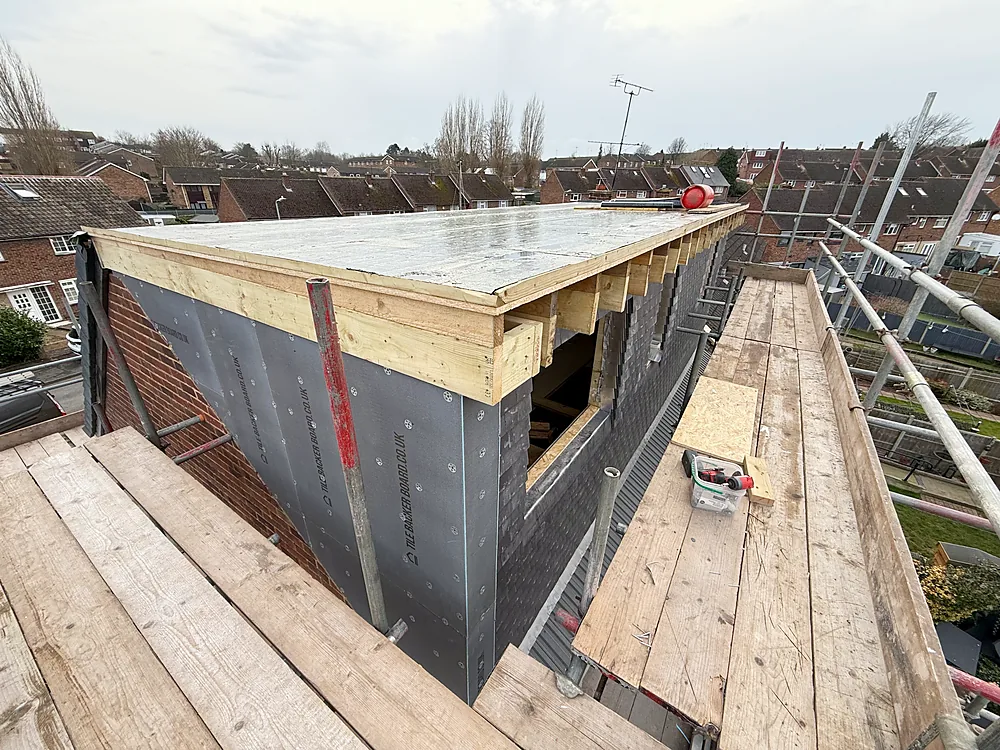
Next the back slope of the roof is opened up and the dormer is framed in timber: the cheek walls at the sides, the front wall with the window openings and the flat roof on top. The flat roof is covered, the cheeks are tile-hung or clad to match the house, and the rest of the roof is made good around the dormer, with rooflights in the front slope if the design has them. By the end of this stage the loft is watertight.
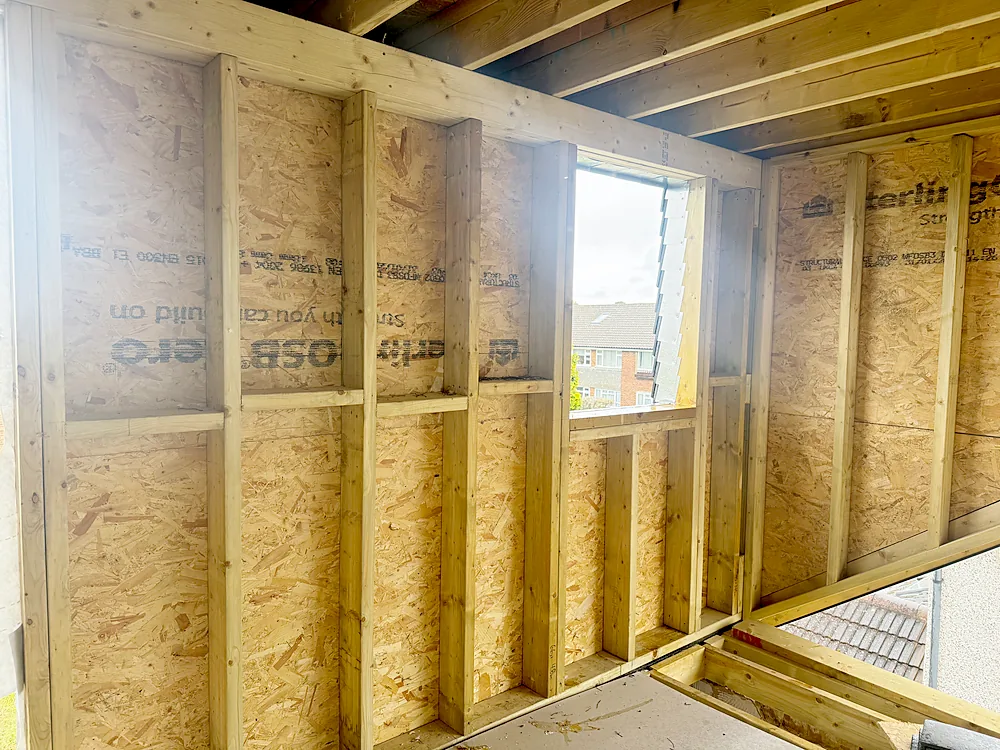
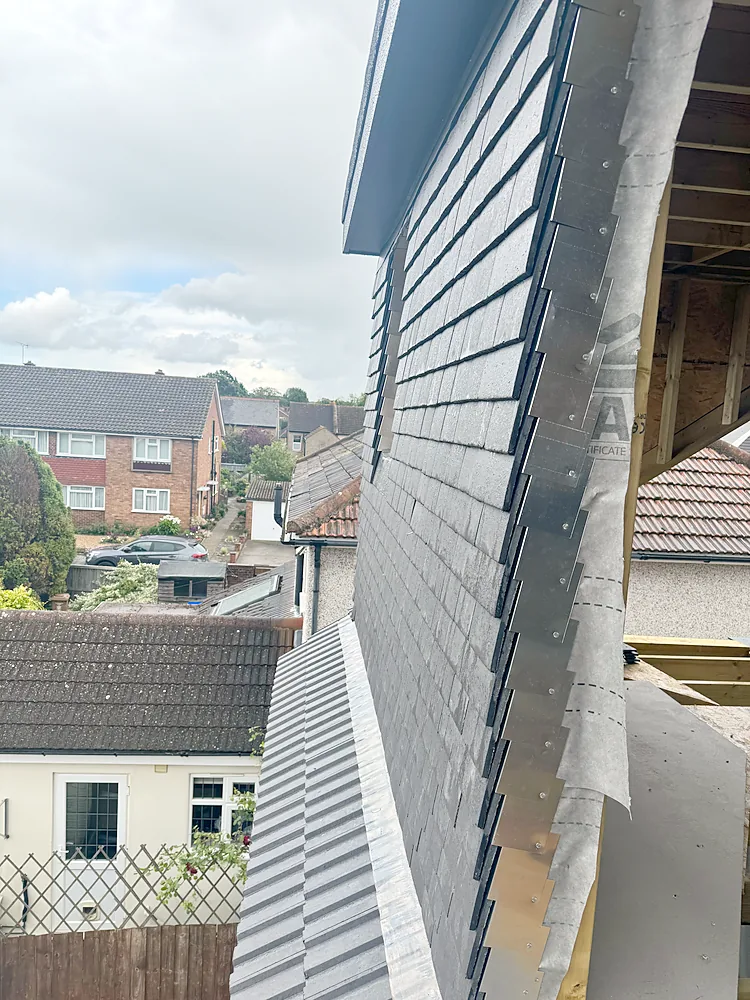
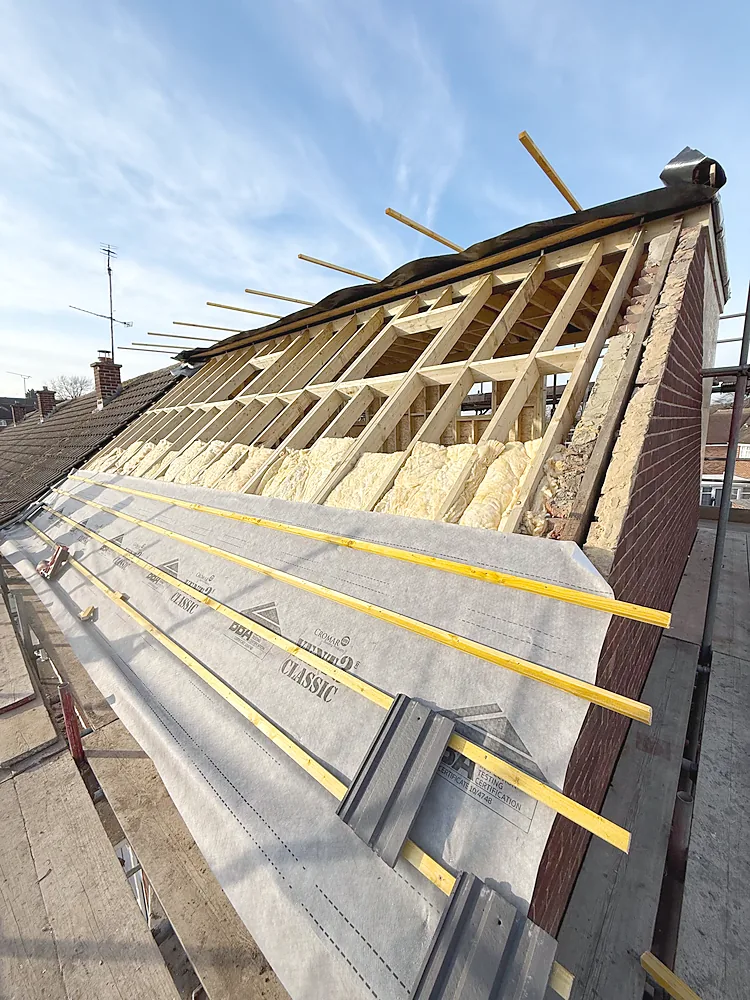
This is the stage where the weather matters most. Heavy rain or high wind while the roof is open can add a few days.
Weeks 4 to 5: insulation and windows
With the shell watertight, insulation goes in between and under the rafters, in the dormer cheeks and in the flat roof, to the levels the Building Regulations set. Then the dormer windows go in.
Weeks 5 to 6: stud walls and first fix
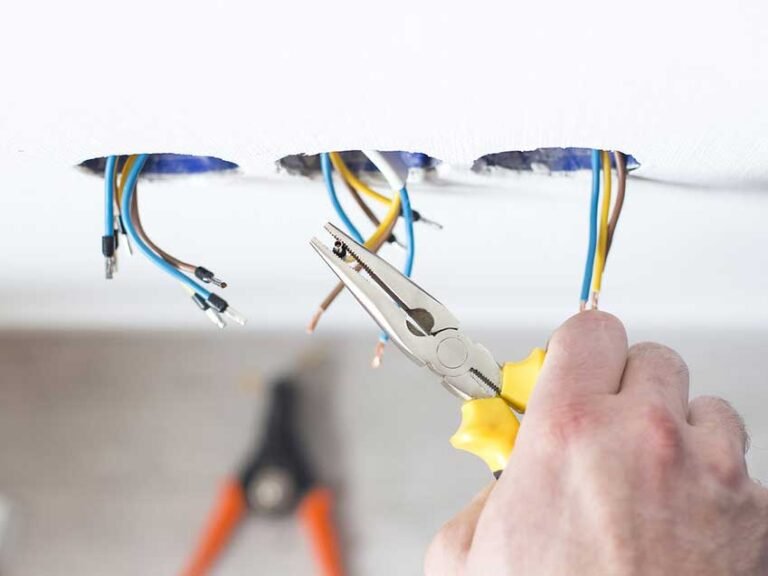
Inside, stud walls form the low walls under the slopes, the cupboards in the eaves and, if there is one, the en suite. First fix is everything that disappears behind the plasterboard: the cables and back boxes for the sockets, switches and lights, and the pipes for the radiators and any en suite. The electrical work is done by our qualified electrician, and work that is notifiable under the Building Regulations is tested and certified. If the house is older, our guide to whether a house needs rewiring is worth reading before this stage.
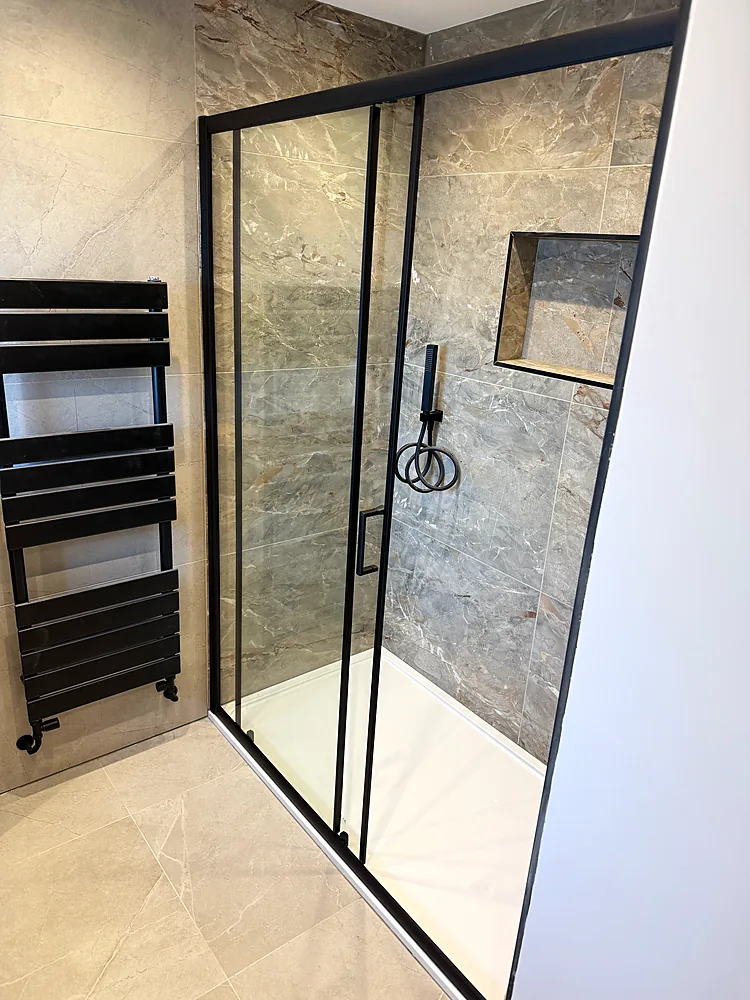
For an en suite, the position of the soil pipe is planned at the design stage, because it may need a new connection or a new route down through the house. An en suite typically adds £7,000 to £12,000 and about 1 to 2 weeks.
Weeks 6 to 7: the staircase
This is when the family feels the work most. The opening is cut through the ceiling of the landing, the new staircase goes in, usually above the existing one, and the loft is connected to the house. Expect dust and noise on the landing for those days, and clear the landing and any cupboards near it beforehand.
The Building Regulations treat the loft as a new storey, so the staircase down to the front door becomes the protected escape route. The doors onto the stairs usually have to be fire doors, and mains-powered smoke alarms, linked together, go in on every floor. If your ground floor is open-plan, the escape route needs a design that Building Control accepts, so mention it at the survey.
Weeks 7 to 8: plastering
The walls and the sloping ceilings are boarded with plasterboard and skimmed. The new plaster then has to dry fully before it is painted, which usually takes around 5 to 7 days depending on the thickness, the temperature and the ventilation. Our guide to skimming, replastering or dry lining explains the finishes.
Weeks 8 to 10: second fix, finishes and sign-off
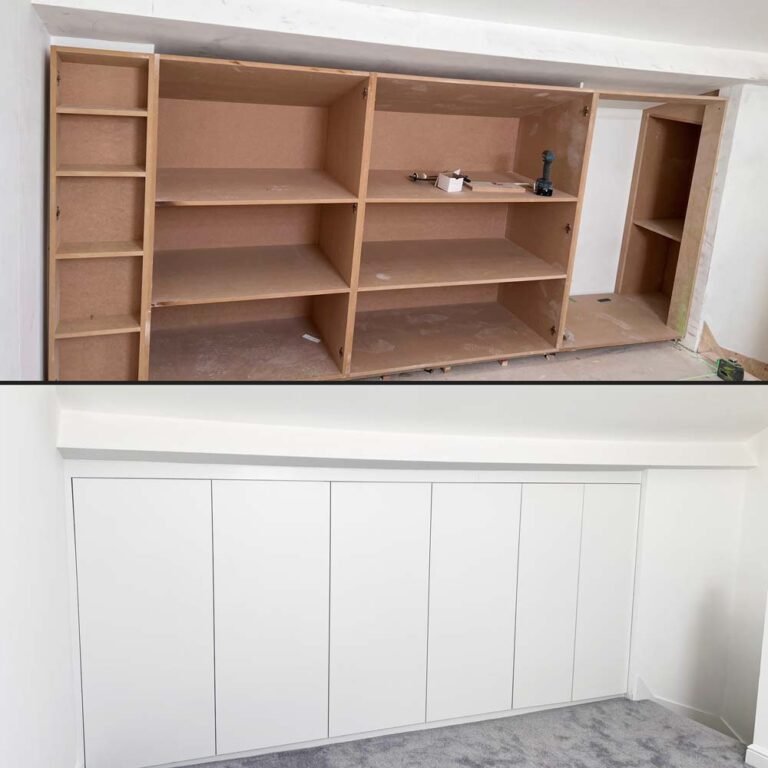
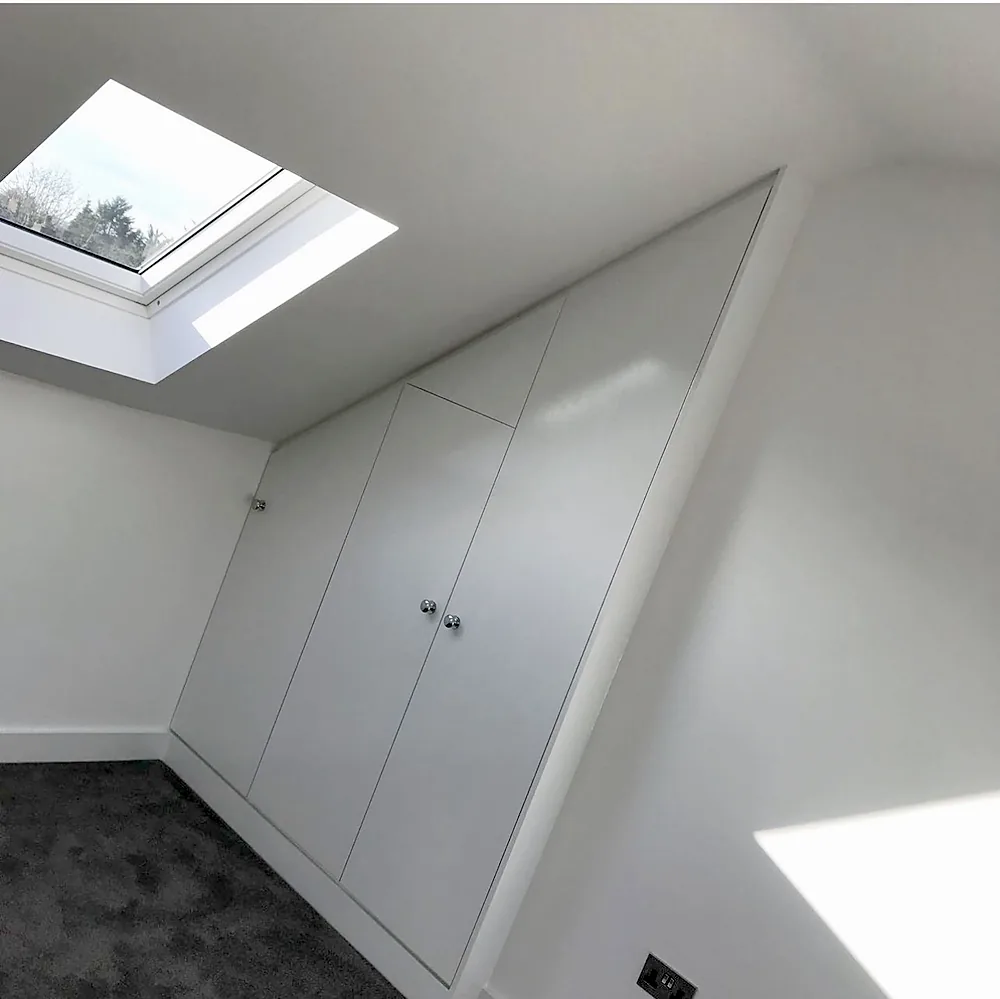
Second fix puts in everything that sits on the finished walls: the sockets, switches and lights, the radiators, the doors, the skirting and the architraves, and the sanitaryware in any en suite. Then come the floor, any fitted storage in the eaves, and the decorating, starting with a mist coat on the new plaster.
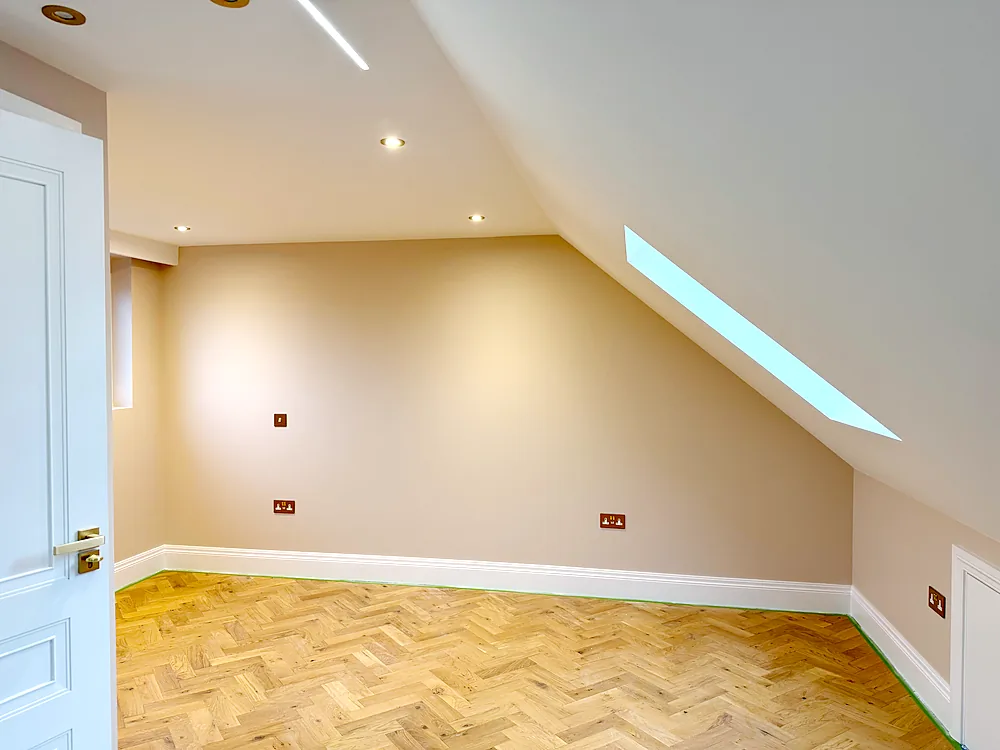
At the end, Building Control makes its final inspection and issues a completion certificate. Keep it with the electrical certificate: a buyer’s solicitor will ask for both when you sell.
How long other loft conversions take
| Type of loft conversion | Typical weeks on site |
|---|---|
| Rooflight (Velux) | 5 to 7 |
| Rear dormer on a terrace | 8 to 10 |
| Hip-to-gable with a rear dormer, on a semi | 10 to 12 |
| L-shaped dormer on a terrace | 10 to 13 |
| Mansard | 12 to 16 |
| En suite added to any of these | 1 to 2 more |
Our guide to the types of loft conversion explains which one suits which house.
What can make a loft conversion take longer
- A hip-to-gable conversion. The sloping end of the roof is rebuilt as a gable wall before the dormer goes on.
- An en suite, which adds about 1 to 2 weeks.
- The weather, while the roof is open.
- What is found when the roof is opened, such as rotten timbers or old wiring that has to be replaced.
- Changes once work has started. Decide the layout, the windows, the bathroom fittings and the finishes before week 1.
- Approvals or party wall agreements still waiting at the start date.
How to prepare
- Empty the loft before week 1.
- Clear the landing and anything stored near the stairs before the staircase goes in.
- Tell your neighbours the dates, especially those who share a wall with you.
- Choose the windows, the flooring, the doors and any bathroom fittings early, so nothing holds up the second fix.
How the payments work
We ask for a 20% deposit in advance, then weekly payments as the work progresses. Our guide to comparing builders’ quotes explains what to check before you sign.
A recent loft conversion
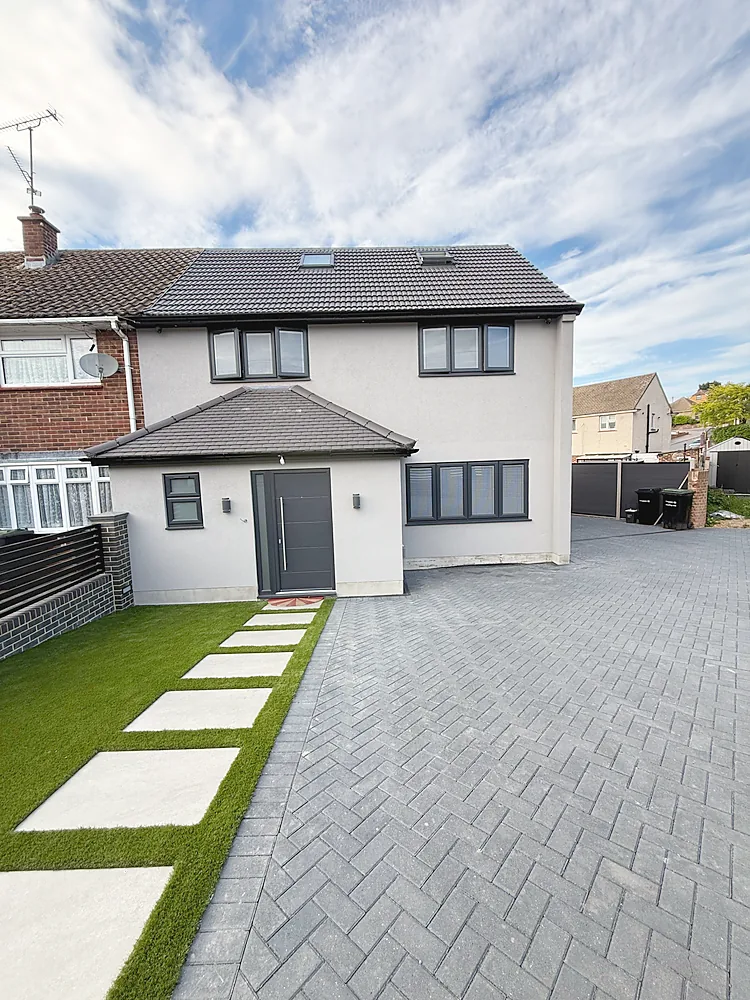
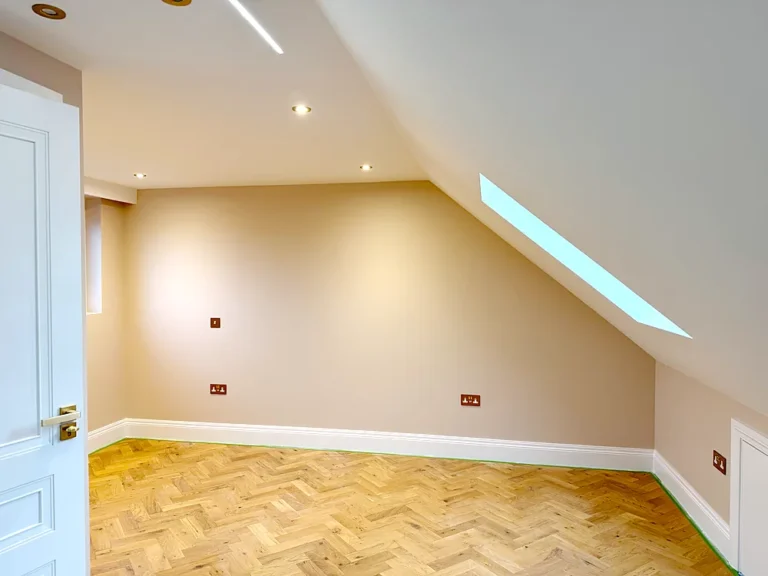
Our loft conversion in Bexleyheath, a dormer with rooflights, a new staircase and fitted eaves storage, took 8 weeks on site. You can follow it step by step on the project page, and see more finished work in our projects and gallery.
See the full service on our loft conversions page.
Planning a loft conversion?
We build rooflight, rear dormer, hip-to-gable, L-shaped and mansard loft conversions across Waltham Abbey, Cheshunt, Enfield, Chingford, Loughton, Epping and North and East London. Call +44 20 3150 0510, email contact@adiorconstruction.co.uk or send us a message to book a free survey and a written quote.
Frequently asked questions
How long does a loft conversion take?
With us, a rear dormer on a terrace typically takes 8 to 10 weeks on site. A rooflight conversion takes 5 to 7 weeks, a hip-to-gable with a rear dormer 10 to 12, an L-shaped dormer 10 to 13 and a mansard 12 to 16. An en suite adds about 1 to 2 weeks.
What is the order of work in a loft conversion?
Scaffolding, the steels and the new floor come first, then the dormer and the roof. After that come the insulation, the windows, first fix plumbing and electrics, the staircase, plastering, second fix and the final finishes.
Can we live in the house during a loft conversion?
Yes. The family can normally keep using the existing top floor for most of the build. The main disruption comes when the new staircase is opened up and the loft is connected to the house.
When does the staircase go in?
On a typical rear dormer, around weeks 6 to 7, once the loft is watertight and insulated and the first fix is done. Expect dust and noise on the landing while the opening is made.
Does a loft conversion need Building Control approval?
Yes, always, even when it is permitted development. Building Control checks the structure, the fire safety, the insulation and the staircase, and issues a completion certificate at the end.
How long before the building work can start?
Allow at least two months for the paperwork once the drawings and the structural design are ready. The council has 8 weeks to decide a Lawful Development Certificate, and party wall notices must be served at least two months before work on the shared wall starts. The two can run at the same time.